Okay I have had so many of you lovely people over on my instagram asking me to share my sourdough recipe and methods so I have finally gotten around to writing this down for you all! Now I am sure if you have wanted to start making your own sourdough bread you have done some reading, I know I did! Many of the recipes you will read can make it seem very complex with all the hydration % talk and what not, and there is certainly a place for the more technical side of things, but my methods are far from an exact science. This means it is a great starting point for you to grow your skills from there. I certainly still have a lot to learn!
A note on starters before we begin – I have yet to attempt to make my own starter as I have been lucky enough to receive some beautiful starter from a family friend so if you can find someone generous to share I highly recommend it! To store mine I keep it in the fridge in a tupper ware container and I feed it (equal parts filtered water and bread flour) every few days. Again, not an exact science I noramlly feed it between 1/4 to 1/2 a cup of each.


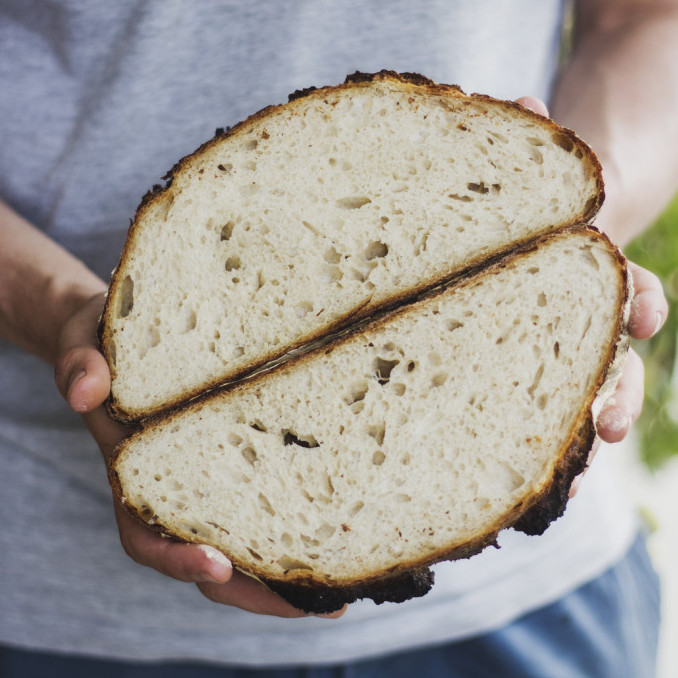
Basic Rye Sourdough Loaf
- 60g sourdough starter
- 20g honey
- 375g luke warm water
- 100g light rye (this recipe also works with whole rye or spelt flour here)
- 400g white bakers flour
- 1 1/2 tsp salt
SCHEDULE
Friday Morning: Take 1/2 a cup of your starter out of the fridge and pop it into a jar – feed it with equal parts water and bread flour, I would generally add 1/4 cup of each at this stage, stirring till just combined. Place the lid on loosely and leave the jar on the bench at room temperature.
Friday Evening: Depending on how warm your house is, you may need to feed your starter again in the evening. If your starter is smelling particularly vinegar-ish then give it another 1/4 cup flour and water. This is something you will just start to notice the more you use your starter!
Saturday Morning: Feed your starter again this morning with equal parts water and bread flour – I normally do about 1/2 cup of each at this stage. Cover with the lid loosely again and leave on the bench.
Saturday Evening: Now for the fun part, the dough! Combine 60g of the active sourdough starter (keep extra and make my sourdough crumpets!) , honey and warm water in a large bowl whisking to combine. In a separate bowl combine the two flours and salt. Add the flour mix to the bowl with the wet ingredients and use a wooden spoon to only JUST bring the mixture together aka until no dry flour remains. Cover the bowl with a tea towel and leave it for 30 minutes.
This is when the autolyse happens, which basically means the gluten begins to develop and the many enzymes present begin to digest the starch and protein. This helps provide a dough which is easier to work with and better flavour and texture of your final loaf. After the 30 minute rest use your hand to bring the dough into a nice ball. This should only take you about 30 seconds- the dough will be sticky so just do your best. I just do this in the bowl – no kneading necessary. Now cover the bowl with cling wrap or a re-usable wrap that properly seals the bowl and set aside overnight.
Sunday Morning: By now your dough should have at least doubled in size. This will still depend on the temperature of your house, so if it hasn’t risen enough it may be best to wait until midday to bake. If you are happy with the rise of your dough, remove it from the bowl gently onto a lightly oiled surface. Using either your hands or a dough scraper simply fold the dough in on itself a few times to get a round ball. It will still be sticky so again-it doesn’t have to be perfect and use oil as necessary. If you have a proving basket-flour it generously and place your dough seam side up into the basket to rise. If you don’t have a proving basket then generously flour the bowl and place the dough back in to rise. The second rise should only take approximately 1 hour, you don’t want to leave it too long.
Pre heat your oven to 230°C. When the oven is ready gently take the dough from the basket or bowl onto some baking paper and place it straight into your dutch oven*(see note below). Score the dough with a sharp knife – I just do a simple cross. Place the lid on and pop it into the oven. Bake it for 20 minutes with the lid on and then remove the lid and bake for a further 30 minutes. Allow it to cool slightly in the pot before removing and cooling on a rack. As tempting as it might be to slice in immediately, it is best to let it cool for at least an hour to prevent it becoming stodgy.
I find sourdough freezes well so some weeks i’ll bake two loaves and slice and freeze one so we always have some on hand for emergency toast situations! Otherwise the loaf kept at room temperature in a bread tin generally last around 5 days.
This is probably the most I’ve ever written in a blog post, and I hope you guys can follow along. I promise it is really quite simple and such a satisfying challenge to bake your own bread! Make sure you tag me on instagram @pheebsfoods if you give it a go- and if you have any questions send them through on instagram too! yay!
** I really can’t recommend a dutch oven for baking sourdough enough! Doing the initial 20 minutes in the pot allows for the steam to give such a wonderful rise to your loaf and the heat underneath gives a wonderful crust. They can be a little expensive but if you are serious about your bread baking then worth the investment! Perfect for slow cooking too-so win win!

Thanks for putting fingers to keyboard. Helps me get a good idea how to cook it. Am going to try in a crockpot to cook. The things we do when the oven doesnt work.